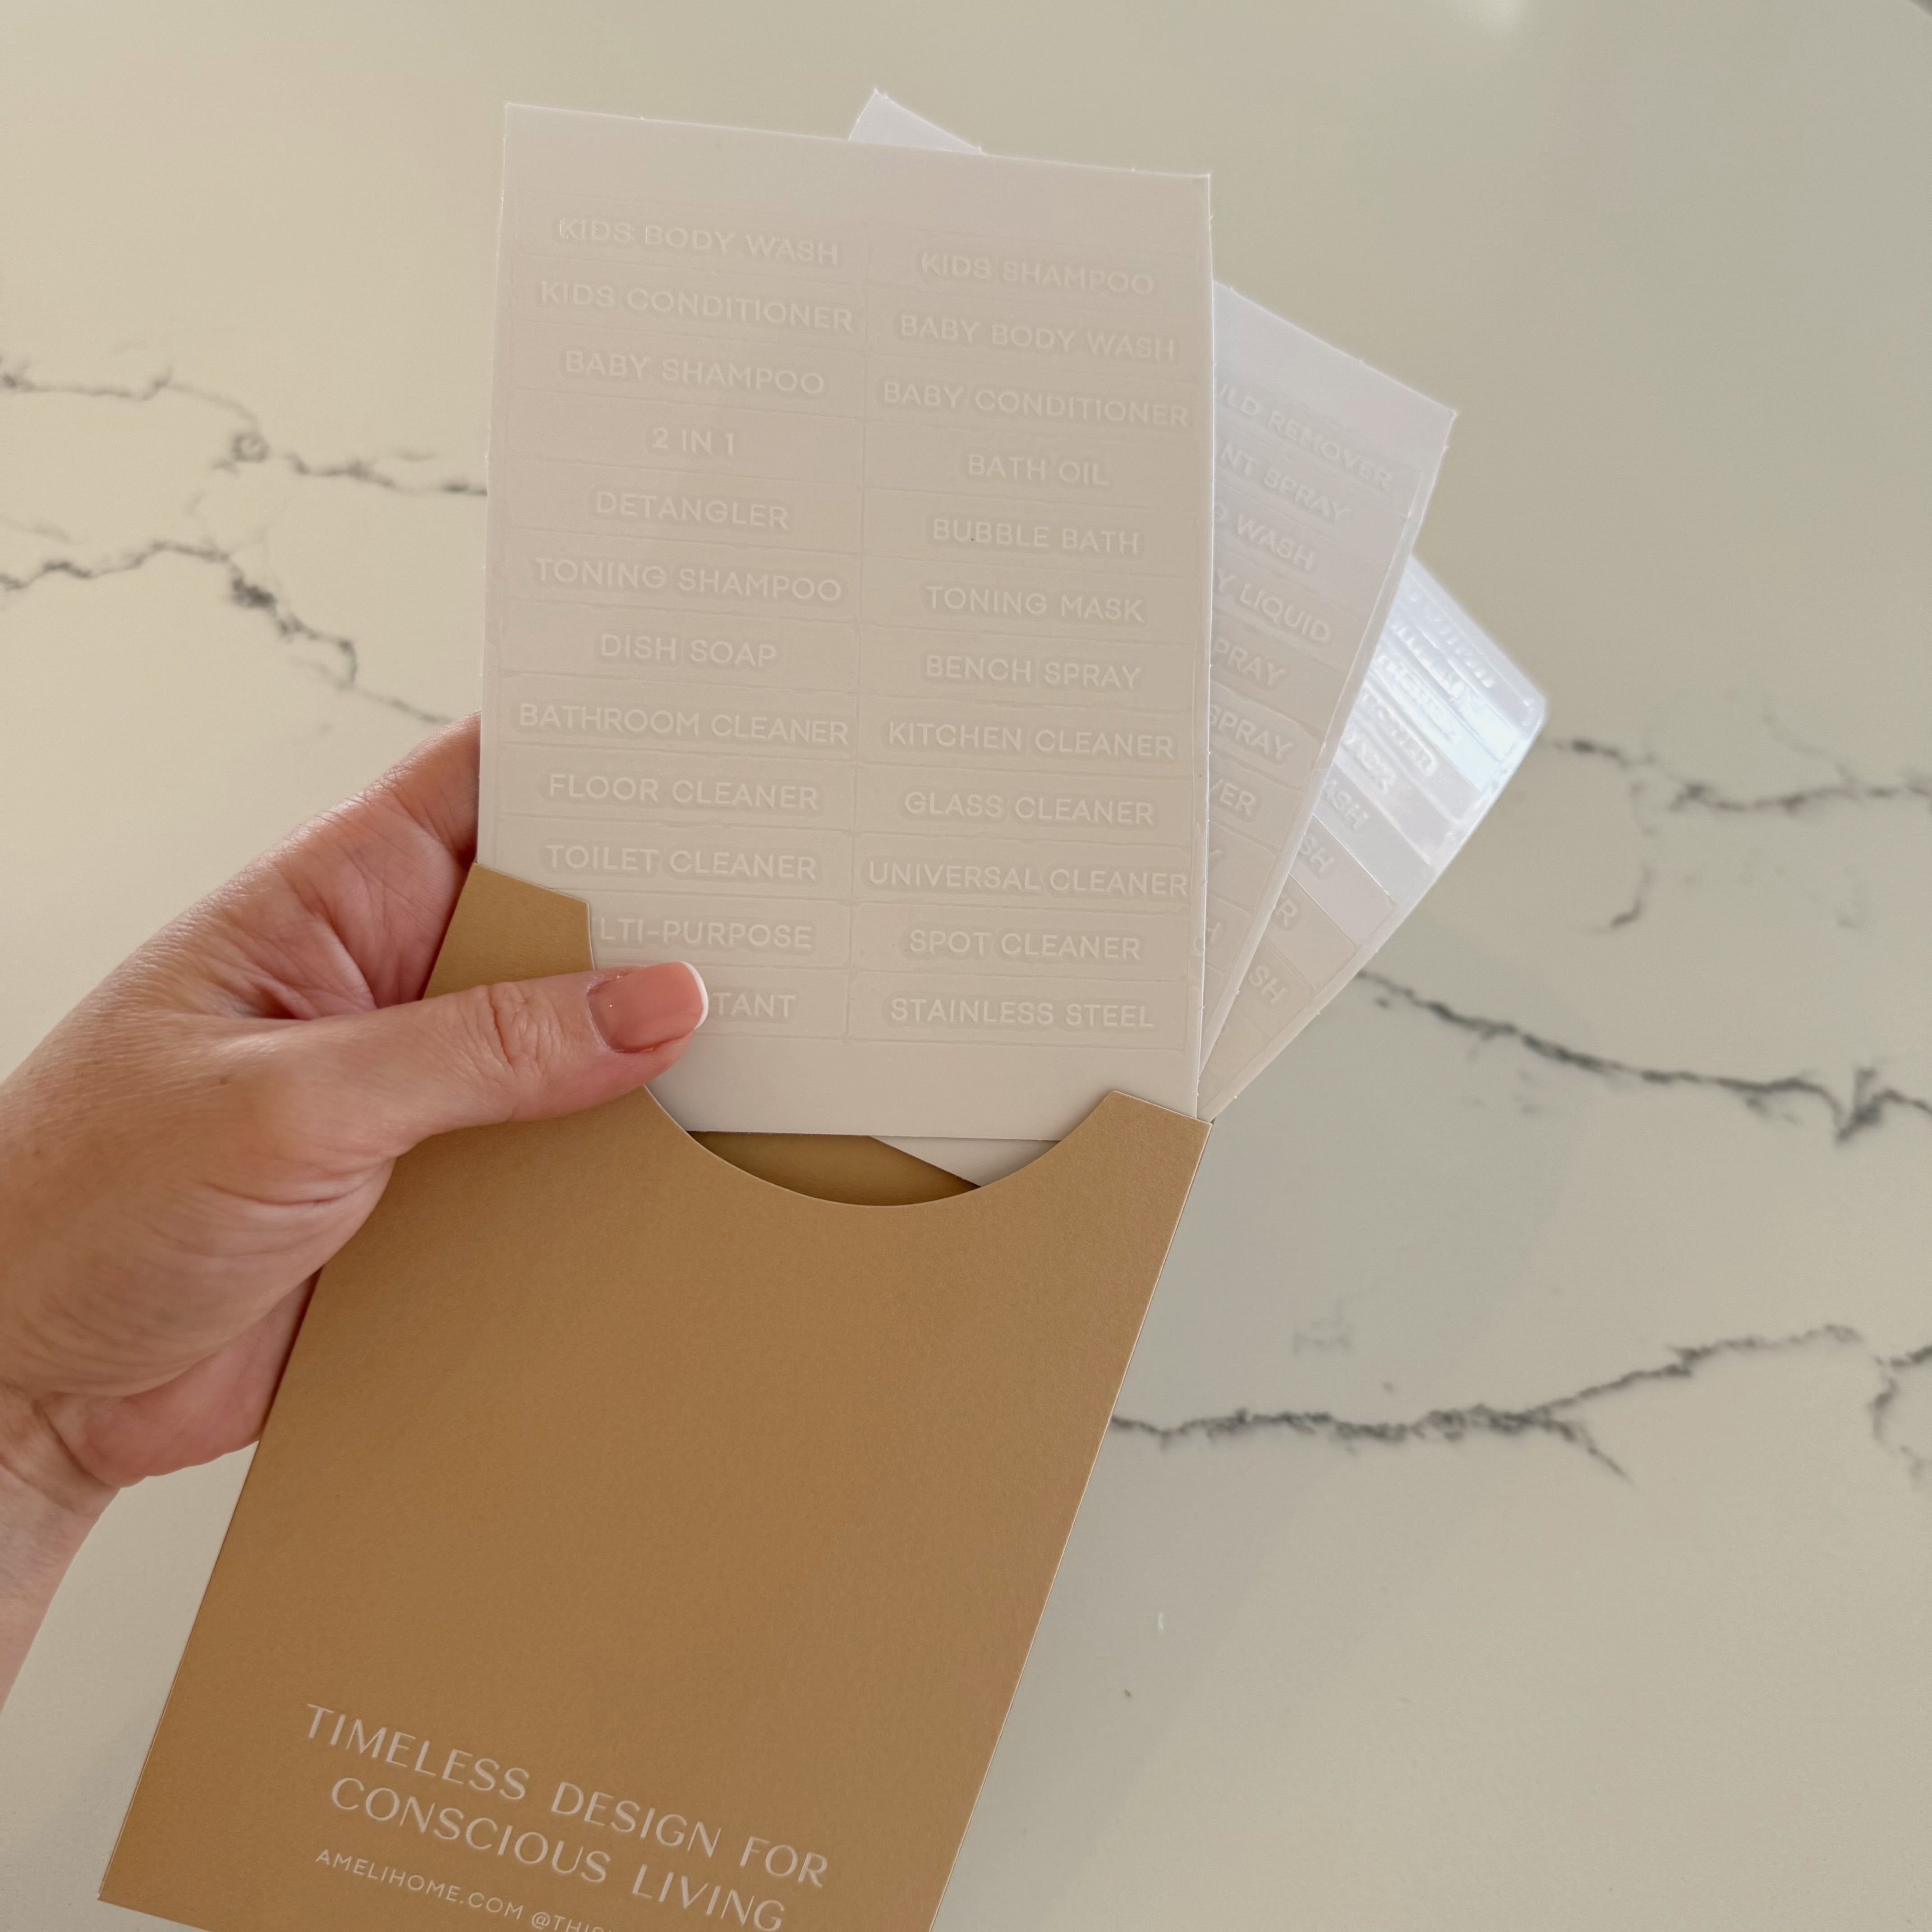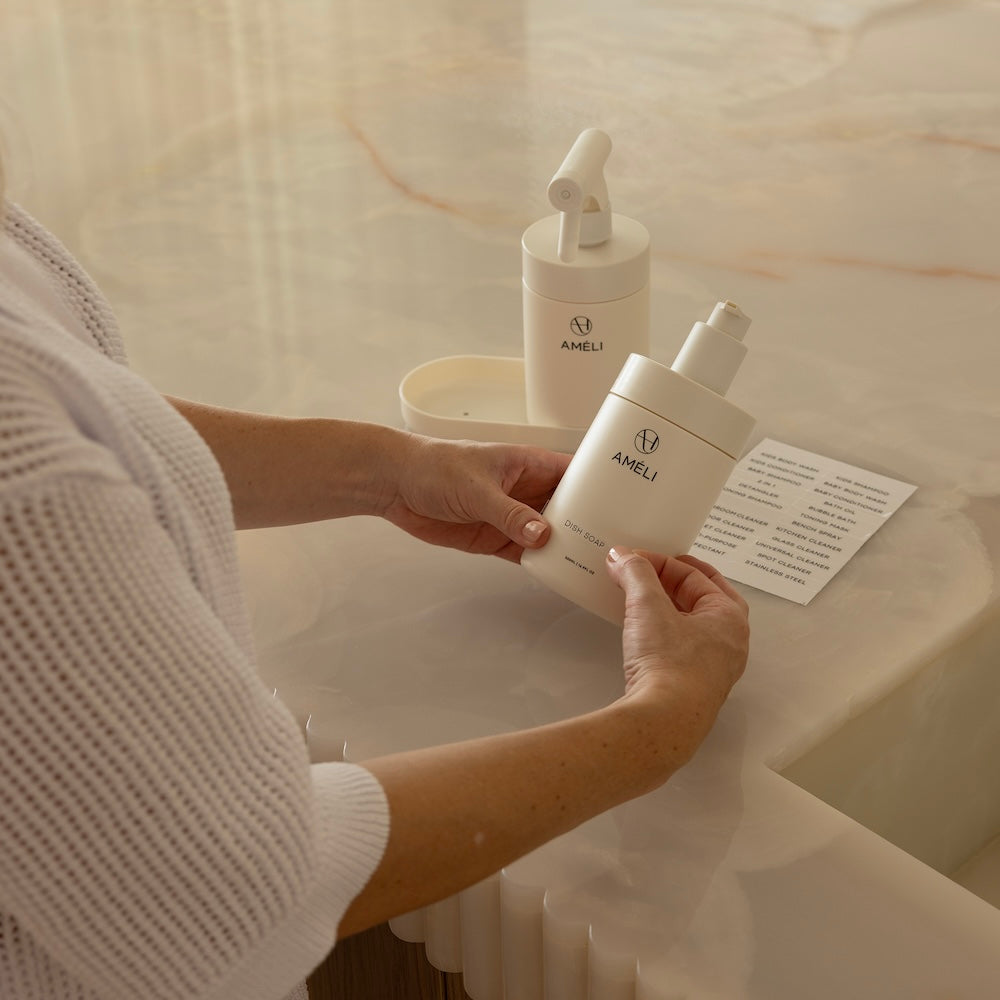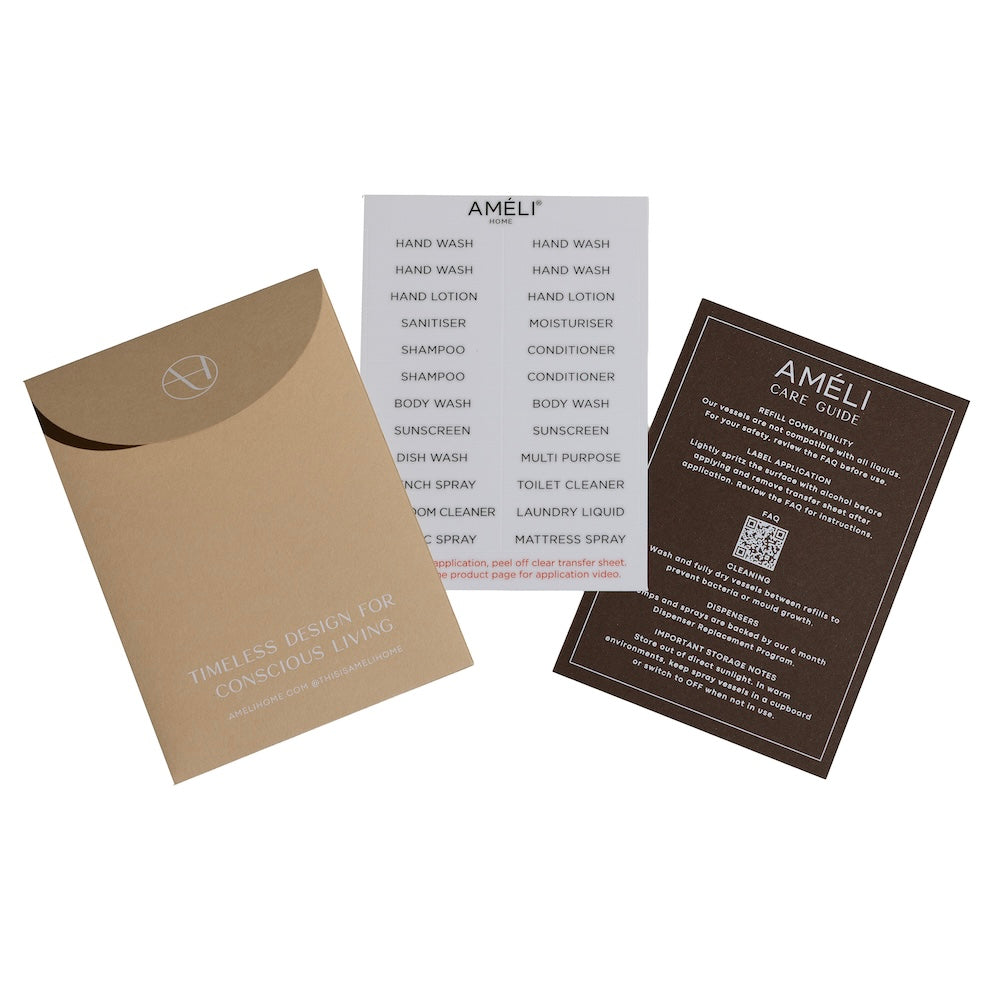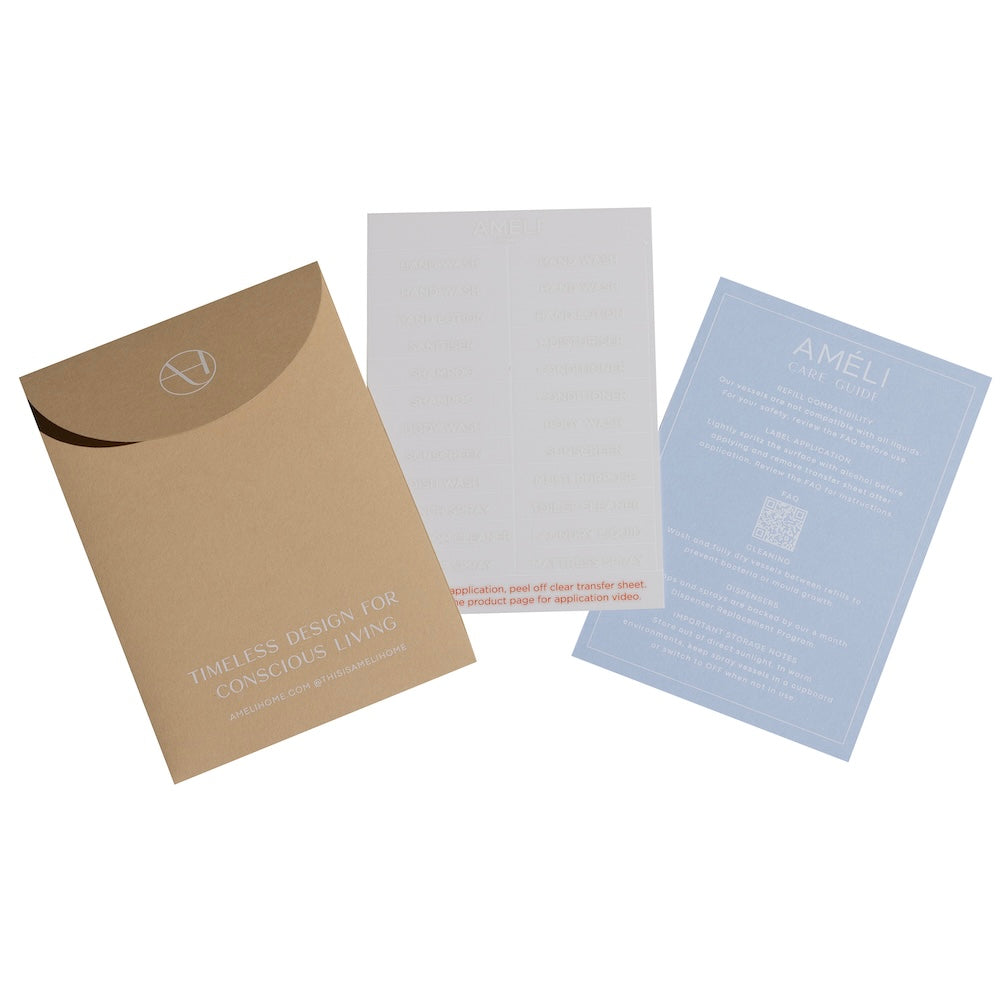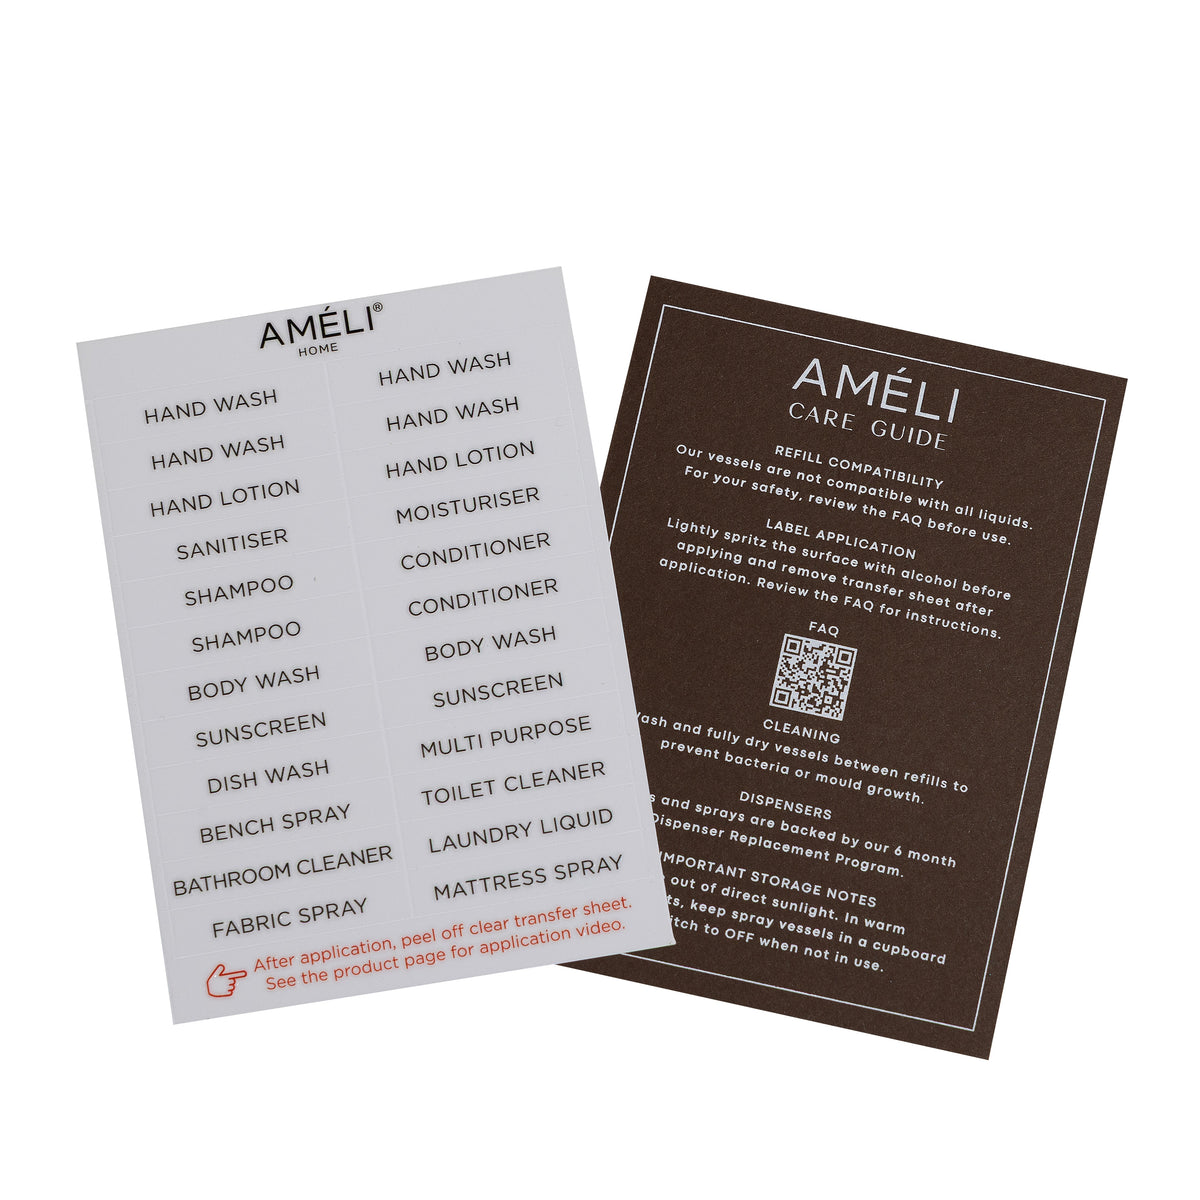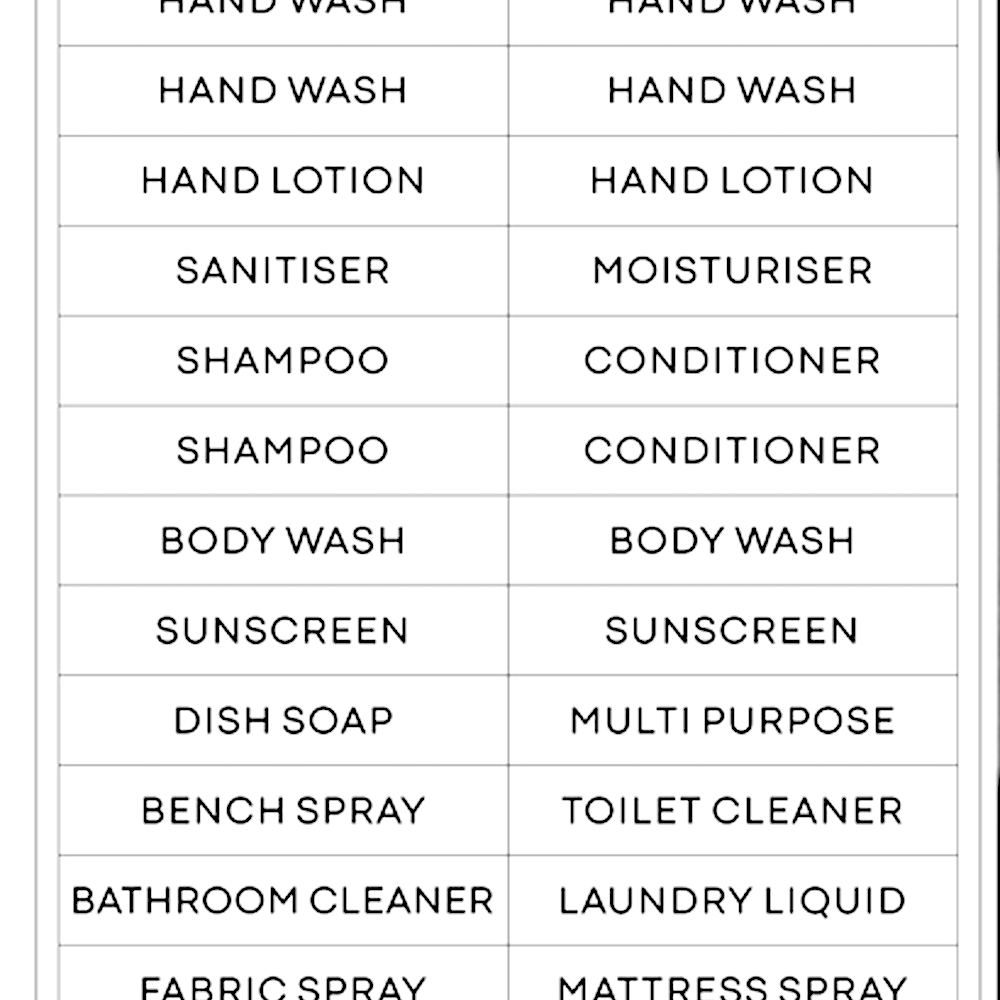

Label Application
Click the image below to watch our application video.
How do I apply the labels?
-
Use isopropyl alcohol to wipe the exterior of the vessel and allow it to dry completely. A clean surface is essential for adhesion and prevents peeling later. - Transfer the letters onto the film
Press each letter on the transfer film with a bank card or your fingernail to ensure they stick properly to the transfer film before removing. Peel it off carefully. If a letter does not stay on the film, carefully place the transfer film back down, and repeat step 2 again. - Position the label correctly
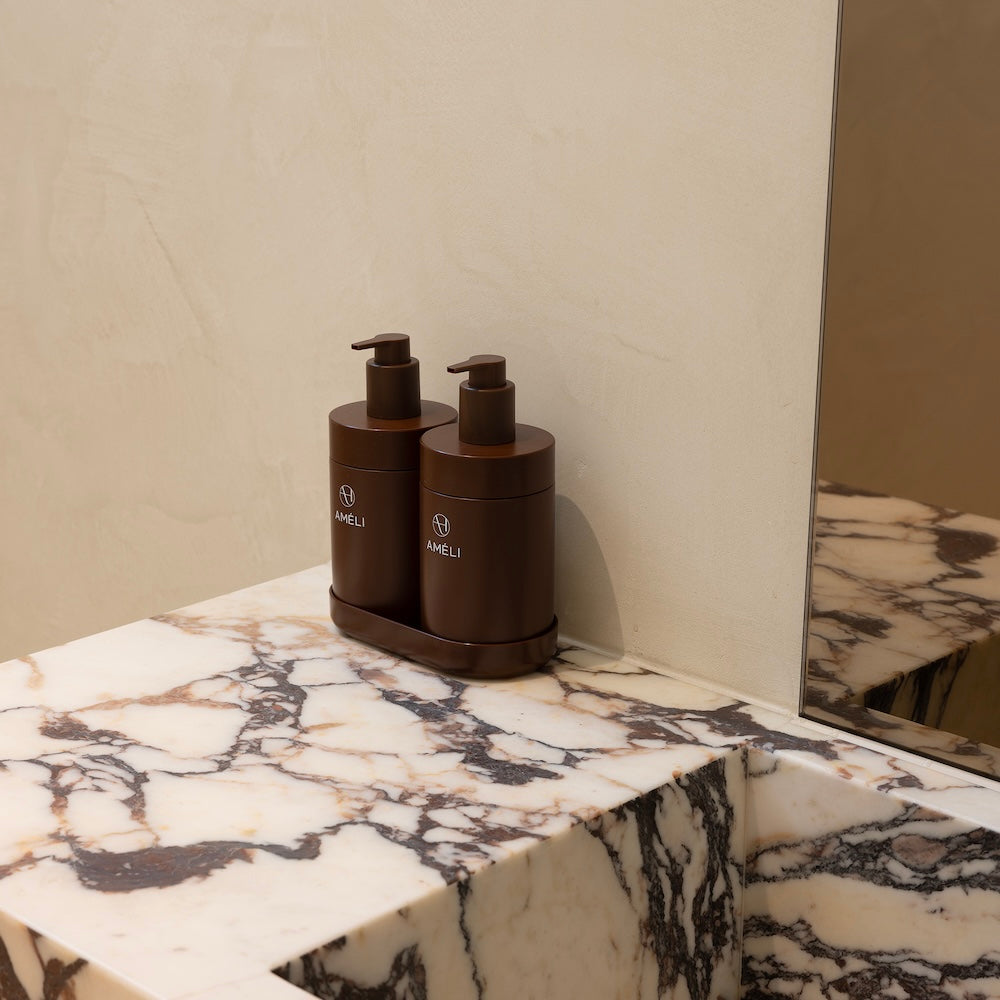
Place the transfer film where you want the label. We recommend positioning it just above the 500 ml or 16.9 fl oz mark and centering it based on the midpoint between those measurements. - Apply firm pressure
Use your thumbs to press the entire label flat against the vessel. Then go over each letter with a bank card or fingernail to ensure they are fully adhered. - Remove the transfer film slowly
Lift the transfer film slowly at a low angle. If any letter lifts with it press it back into place and press again. - To reveal your waterproof oil proof durable label
Remove the film to reveal. If any letters are not in correct position, use tweezers to carefully realign.
You can also view a video of the application process on the label product page.
How do I remove the labels?
The labels are waterproof and oil proof and designed for longevity so they cannot be peeled off.
Please use a hair dryer on the medium setting in short bursts. The label will peel off with ease and we recommend using a little eucalyptus oil (or similar) to remove the residue. Please then clean and dry, ideally with isopropyl alcohol, before applying your new label.